Your website needs a tool page. It shows what you use. It builds trust. Most small business owners skip this step. That’s a mistake.
A strong tool page attracts the right clients. It positions you as an expert. It can even generate affiliate income. Plus, it takes less time than you think.
I’ve built dozens of tool pages for clients. They generated over $25M in revenue using these exact strategies. Now I’ll show you how to create yours. You’ll get a practical checklist. You’ll see tool picks that work. You’ll learn quick examples you can copy today.
Table of Contents
- What Is a Tool Page and Why You Need One
- The Real Benefits of a Tool Page
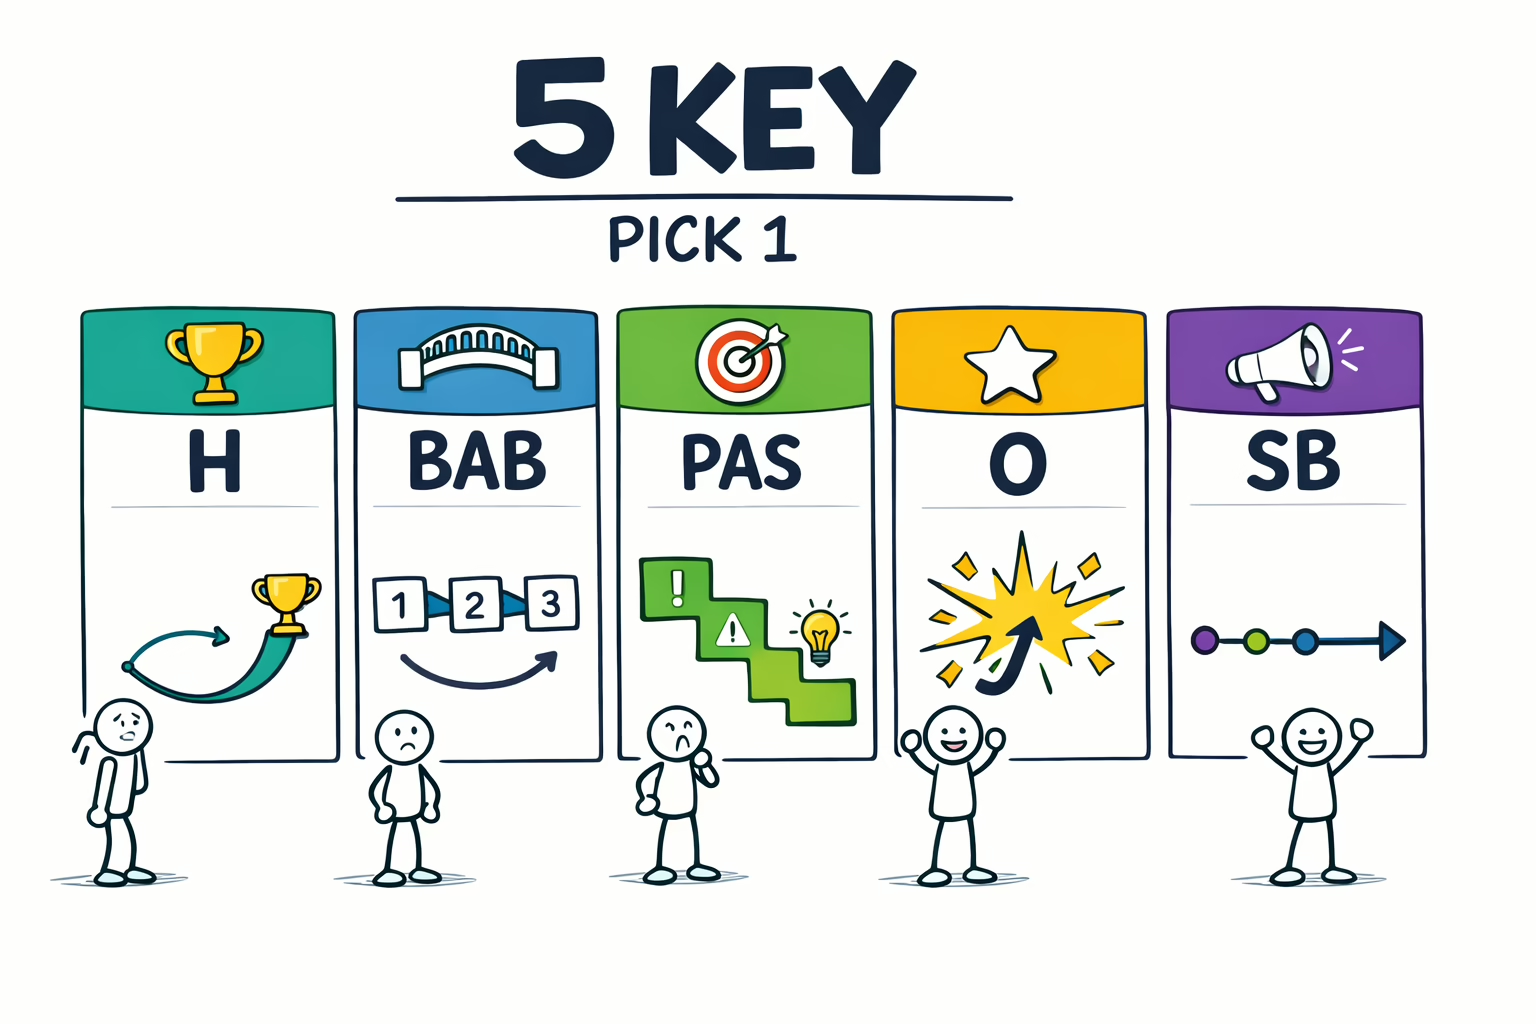
- Your Tool Page Checklist: 10 Must-Have Elements
- Tool Page Examples That Convert
- How to Build Your Tool Page Fast
- How AI Speeds Up Your Tool Page Creation
What Is a Tool Page and Why You Need One
A tool page lists the software you use. It shows the platforms you trust. It explains why you chose each tool. Think of it as your business toolkit on display.
Most service businesses hide their tools. They think it gives away secrets. Actually, sharing tools builds authority. It shows you know what works. Clients trust business owners who share openly.
The Psychology Behind Tool Pages
People want to know your methods. They search for proven systems. A tool page answers their questions before they ask. It reduces buying friction. It speeds up decision-making.
When you list specific tools, you demonstrate expertise. You’re not vague about “using technology.” You name exact platforms. This specificity builds credibility fast.
Key Insight: A tool page transforms you from vendor to trusted advisor.
Who Benefits Most from Tool Pages
Marketing agencies need tool pages. Consultants benefit greatly. Coaches should have one. Even local service businesses gain advantages. Any business selling expertise needs a tool page.
Your content marketing strategy should include tool pages. They attract organic search traffic. They answer common questions. They position you as an industry leader.
Expert Insight from Kateryna Quinn, Forbes Next 1000:
“I share every tool I use. Transparency builds trust faster than any sales pitch. Plus, my tool page generates passive income through partnerships.”
The Real Benefits of a Tool Page
A tool page does more than list software. It works as a marketing asset. It generates traffic. It builds authority. It can even create revenue streams.
SEO Benefits You Can’t Ignore
Tool pages rank well in search engines. People search for “best tools for [industry]” constantly. Your page answers those queries. It brings qualified traffic to your site.
Each tool mention creates keyword opportunities. You can target long-tail phrases. You can rank for tool names plus your industry. This strategy captures high-intent searchers.
Research shows that proven business growth strategies include content that demonstrates expertise. Tool pages fit this model perfectly.
Trust-Building Through Transparency
Sharing your tools shows confidence. It proves you have systems. It demonstrates you’re not winging it. Prospects feel safer hiring you.
Transparency reduces perceived risk. Clients know what to expect. They see you use professional tools. This elevates your brand positioning immediately.
Affiliate Income Opportunities
Many tools offer affiliate programs. You earn commissions when people sign up. Your tool page becomes a passive income source. Some business owners earn thousands monthly this way.
You don’t need huge traffic either. Targeted visitors convert better. Your audience already trusts you. They value your recommendations highly.
Revenue Reality: A well-optimized tool page can generate $500-$5,000 monthly in affiliate income.
Content Repurposing Gold Mine
Your tool page creates content opportunities. Write detailed tool reviews. Create comparison posts. Share setup tutorials. One tool page generates dozens of content ideas.
Each tool becomes a topic cluster. You can build comprehensive content around it. This strategy boosts your entire content strategy effectiveness.
Your Tool Page Checklist: 10 Must-Have Elements
Building a tool page requires specific elements. Skip one and you lose effectiveness. Follow this checklist for best results. I use this exact list for every client project.
1. Clear Page Purpose Statement
Start with why you created this page. Explain what readers will find. Set expectations immediately. Use your primary keyword in this section.
Example: “This tool page shares the exact platforms I use to run my $500K agency. Each tool has been tested for at least six months.”
2. Organized Tool Categories
Group tools by function. Create sections like Marketing, Operations, Finance, Communication. This organization helps readers find relevant tools quickly.
Don’t dump everything in one list. Categories improve user experience. They also help with SEO optimization.
3. Individual Tool Descriptions
Each tool needs its own paragraph. Explain what it does. Share why you chose it. Include pricing if possible.
Be specific about use cases. Don’t just say “project management tool.” Say “tracks client deliverables and team deadlines across 20+ active projects.”
4. Honest Pros and Cons
Share what you love about each tool. Also mention limitations. This honesty builds massive credibility. Nobody believes a tool is perfect.
Example format: “Pros: Intuitive interface, excellent customer support. Cons: Higher price point, limited mobile functionality.”
5. Implementation Tips
Tell readers how to get started. Share setup advice. Mention common mistakes to avoid. This value makes your page genuinely helpful.
These tips separate your tool page from generic lists. You’re not just naming tools. You’re sharing implementation wisdom.
6. Affiliate Disclosure
If you use affiliate links, disclose this clearly. It’s legally required. More importantly, it maintains trust. Most readers appreciate honest disclosure.
Place disclosure at the top of your page. Use plain language. Don’t hide it in fine print.
7. Last Updated Date
Show when you last reviewed your tools. Software changes constantly. A date proves your page is current. It also gives you reason to update regularly.
Plan quarterly reviews minimum. Update whenever you switch tools. Fresh content performs better in search.
8. Alternative Options
Mention tool alternatives when relevant. Not everyone needs enterprise solutions. Some readers want budget options. Providing alternatives increases page value.
This approach also captures more search traffic. You rank for multiple tool names instead of just one.
9. Visual Elements
Include tool logos or screenshots. Visual elements improve engagement. They make pages easier to scan. They also increase time on page.
Don’t overdo images though. One visual per tool is plenty. Focus on clarity over decoration.
10. Clear Call-to-Action
End with next steps. Maybe offer a free consultation. Perhaps promote a related resource. Guide readers toward deeper engagement.
Your tool page shouldn’t be a dead end. It should move prospects through your funnel strategically.
The SBA marketing guide emphasizes that every piece of content should serve a business purpose. Your tool page is no exception.
Tool Page Examples That Convert
Let’s look at specific tool page examples. These formats work across different industries. Pick the style that fits your brand. Then customize it for your audience.
The Simple List Format
This format works great for beginners. List 10-15 essential tools. Include brief descriptions. Add affiliate links. That’s it.
Example structure:
- Project Management: Asana – Tracks all client projects and team tasks. Free for small teams.
- Email Marketing: ConvertKit – Manages our newsletter and automation sequences. Great deliverability rates.
- Accounting: QuickBooks – Handles invoicing, expenses, and tax prep. Integrates with our bank.
This format takes minimal time to create. It provides immediate value. You can expand it later.
The Detailed Review Format
This format goes deeper on fewer tools. Choose your top 5-7 tools. Write 200-300 words about each. Include screenshots or videos.
Cover these points for each tool:
- What problem it solves
- Key features you use
- Pricing breakdown
- Setup difficulty
- Who should use it
- Alternatives to consider
This format establishes serious expertise. It takes more time but drives better results. It also ranks for more keywords.
The Category-Based Format
Organize tools by business function. Create sections like Marketing Tools, Sales Tools, Operations Tools, Finance Tools. List 3-5 tools per category.
This format helps readers find exactly what they need. It also lets you target multiple keyword variations. Plus, it’s easy to update one section without redoing everything.
The Stack Overview Format
Show your complete business system. Explain how tools connect together. Demonstrate your entire workflow. This format works brilliantly for agencies and consultants.
Example: “Leads come through our website (WordPress), enter our CRM (HubSpot), receive automated nurture (ActiveCampaign), book calls (Calendly), and get onboarded (Trello). This system handles 50+ leads monthly.”
This format positions you as a systems expert. It shows strategic thinking. Prospects see you run a real business.
Industry-Specific Examples
Marketing Agency Tool Page: Focus on client communication, project management, analytics, content creation, and reporting tools. Show the exact stack that delivers client results.
Fitness Studio Tool Page: Highlight scheduling software, payment processing, member management, workout tracking, and marketing automation. Demonstrate how technology enhances member experience.
Consulting Practice Tool Page: Emphasize research tools, presentation software, client portals, contract management, and time tracking. Show how you deliver professional service.
Check out AI tools for marketing to see how modern platforms are transforming business operations.
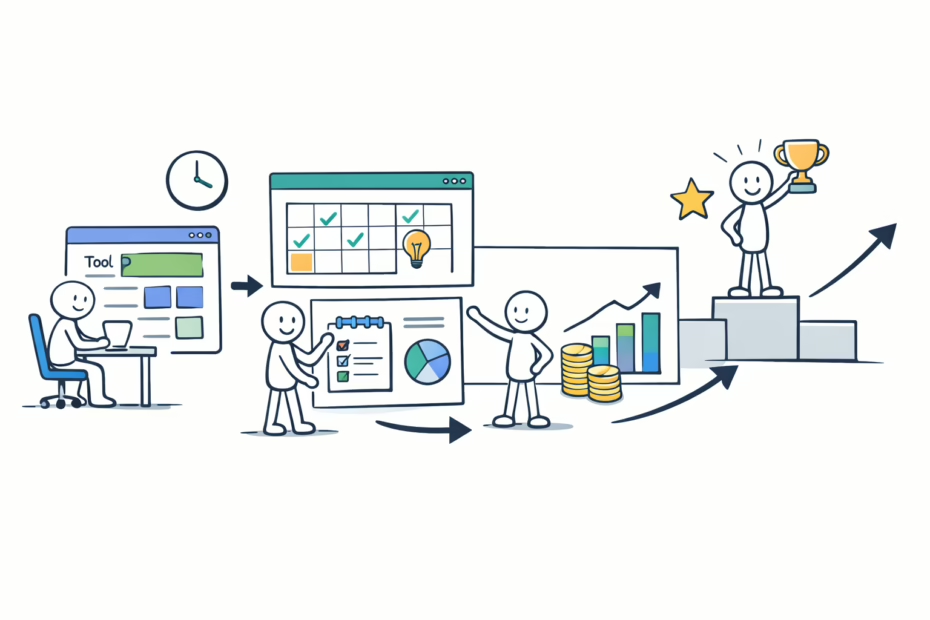
How to Build Your Tool Page Fast
You don’t need weeks to create a tool page. Follow this step-by-step process. You can launch your page in one afternoon. Then improve it over time.
Step 1: Inventory Your Current Tools
List every tool you use regularly. Check your browser bookmarks. Review your software subscriptions. Look at your monthly expenses. Don’t filter yet—just list everything.
Include free tools and paid platforms. Note tools you use daily versus occasionally. This raw inventory becomes your working document.
Step 2: Categorize by Function
Group tools into logical categories. Common categories include Marketing, Sales, Operations, Finance, Communication, and Project Management. Create categories that match your business model.
Most businesses have 5-8 main categories. More than 10 becomes overwhelming. Consolidate where possible.
Step 3: Prioritize Your Top Tools
Pick your 3-5 most essential tools per category. These are non-negotiable for your business. Focus on tools you genuinely recommend. Don’t list something just for affiliate commission.
Your integrity matters more than short-term income. Recommend tools you actually use and trust. This authenticity shows through to readers.
Step 4: Write Simple Descriptions
Draft 2-3 sentences per tool. Answer these questions: What does it do? Why do you use it? Who should consider it?
Keep descriptions concise initially. You can expand later. Getting something published beats perfecting something that never launches.
Step 5: Add Pricing Information
Include current pricing when possible. Note free trials or free tiers. Mention if pricing scales with business size. This information helps readers make decisions quickly.
Update pricing quarterly. Software companies change plans frequently. Outdated pricing hurts credibility.
Step 6: Include Affiliate Links
Sign up for affiliate programs for your top tools. Most major platforms offer partnerships. Apply even if you have low traffic initially. Many programs approve new partners.
Use a link management tool like Pretty Links. This lets you update links without editing your page. It also provides click tracking.
Step 7: Create Your Page Structure
Build your page using one of the formats above. Add a table of contents. Include jump links to categories. Make navigation easy for readers.
Use headers properly. Include your primary keyword in headers. This helps both readers and search engines understand your content.
Step 8: Design for Readability
Break up text with whitespace. Use bullet points liberally. Bold key phrases. Add tool logos if available. Make the page scannable.
Most readers won’t read every word. They’ll scan for relevant tools. Design accordingly.
Step 9: Add SEO Elements
Write a compelling meta description. Include your primary keyword naturally. Create descriptive alt text for images. Use internal links to related content.
Link to your services page. Connect to relevant blog posts. Your tool page should integrate with your broader SEO content strategy.
Step 10: Publish and Promote
Launch your tool page. Share it on social media. Email it to your list. Mention it in blog posts. Get initial traffic flowing immediately.
Don’t wait for perfection. Published content can be improved. Unpublished content helps nobody.
Implementation Tip:
“I created my first tool page in three hours. It wasn’t perfect. But it ranked within two weeks. That imperfect page generated thousands in affiliate income before I ever updated it.”
How AI Speeds Up Your Tool Page Creation
Creating a tool page takes time. Writing descriptions requires thought. Finding the right words challenges many business owners. This is where AI becomes incredibly valuable.
AI Can Draft Your Descriptions
Feed AI tools your raw notes. They’ll generate polished descriptions. You simply edit for accuracy and tone. This cuts writing time by 70%.
The AI Blog Post Writer in Uplify handles this perfectly. Input your tool name and basic info. It outputs ready-to-use descriptions. You just review and publish.
AI Helps Organize Content
Struggling with structure? AI can suggest logical categories. It can recommend which tools to group together. It can even create your table of contents automatically.
This organizational help is huge for beginners. You don’t need copywriting experience. The AI provides proven frameworks instantly.
AI Generates SEO Elements
AI can write your meta description. It can suggest header variations. It can identify relevant keywords you might miss. This optimization happens in minutes instead of hours.
The AI analyzes top-ranking tool pages. It learns what works. Then it applies those insights to your content. You get SEO benefits without being an SEO expert.
AI Creates Multiple Versions
Need a short version and a long version? AI generates both instantly. Want to test different tones? AI provides variations. This versatility lets you experiment quickly.
You can create versions for different audiences. One for beginners. Another for advanced users. AI makes this segmentation practical.
The Human Touch Still Matters
AI creates drafts but you provide authenticity. Add your personal experience. Share specific results. Include unique insights. This combination of AI speed and human truth creates the best content.
Don’t let AI write everything. Use it as a writing partner. It handles structure and first drafts. You add personality and expertise.
According to Forbes small business insights, AI adoption is accelerating business efficiency across all sectors. Smart business owners leverage AI for routine tasks. They focus their energy on strategic thinking and client relationships.
Uplify’s AI Tools for Tool Pages
Uplify offers specialized AI tools for content creation. The platform understands business context. It generates content that sounds natural. It maintains your brand voice consistently.
You’re not starting from scratch with generic AI. You’re using AI trained on proven business frameworks. This makes a massive difference in output quality.
Plus, Uplify includes templates specifically for tool pages. You don’t guess at structure. You fill in proven frameworks. Your tool page launches faster with better results.
Explore all AI tools available in Uplify to streamline your entire content creation process.
Common Tool Page Mistakes to Avoid
Even with a checklist, people make mistakes. I’ve seen these errors cost businesses thousands in lost traffic and revenue. Learn from others’ mistakes. Avoid these common pitfalls.
Listing Too Many Tools
More isn’t better with tool pages. Listing 50 tools overwhelms readers. It also dilutes your recommendations. Stick to your actual favorites. Quality beats quantity here.
If you use many tools, create category-specific pages instead. One comprehensive marketing tools page works better than one massive everything page.
Ignoring Mobile Users
Over 60% of visitors use mobile devices. Your tool page must work perfectly on phones. Test it yourself. Fix any layout issues immediately.
Long paragraphs hurt mobile readability. Short sentences help. Bullet points work great. Design mobile-first for best results.
Forgetting to Update
Tool pages get stale quickly. Software evolves constantly. Companies change pricing or features. Dead links hurt credibility badly.
Set calendar reminders for quarterly reviews. Check all links. Update pricing. Note new features. Fresh content ranks better too.
Making It All About Affiliate Income
Readers spot this instantly. If every tool is an affiliate link, trust disappears. Balance paid and non-paid recommendations. Your credibility is worth more than commissions.
Some of my top recommendations have no affiliate program. I share them anyway. This honesty makes my paid recommendations more valuable.
Skipping the Why
Don’t just list tools. Explain your reasoning. Share the problem each tool solves. Tell readers why you chose it over alternatives.
The “why” creates connection. It shows your thinking process. It helps readers decide if they need that tool too.
Neglecting Internal Linking
Your tool page should connect to other content. Link to relevant blog posts. Connect to service pages. Build a content web that keeps visitors engaged.
Internal links help SEO significantly. They also guide visitors through your site strategically. Every page should lead somewhere valuable.
Advanced Tool Page Strategies
Once you’ve mastered the basics, these advanced strategies take your tool page further. They increase traffic, engagement, and revenue. Implement them as you grow.
Create Tool Comparison Posts
Write dedicated posts comparing two similar tools. These rank incredibly well. They capture high-intent search traffic. They also give you more content from your tool research.
Example: “Asana vs. Monday.com: Which Project Manager Fits Your Agency?” These comparison posts should link back to your main tool page.
Build Tool Setup Tutorials
Create step-by-step guides for your key tools. Video tutorials work especially well. These establish you as a true expert. They also keep people on your site longer.
Tutorial content answers specific how-to searches. It brings qualified traffic. It positions you as helpful rather than salesy.
Offer Tool Stack Templates
Package your complete system as a downloadable resource. Create a checklist or visual diagram. Gate it behind an email signup for list building.
This strategy turns your tool page into a lead generation asset. People want proven systems. They’ll trade contact info for your blueprint.
Partner with Tool Companies
Reach out to tools you love. Many offer partnership opportunities beyond basic affiliates. You might get better commission rates. You might secure exclusive discount codes. Some create co-marketing content.
These partnerships benefit everyone. Tool companies get exposure. You get better terms. Your audience gets special deals. It’s genuinely win-win-win.
Track Performance Metrics
Monitor which tools get the most clicks. See which descriptions drive conversions. Use this data to optimize your page continuously.
Tools like Google Analytics show you exactly what works. Double down on high performers. Revise or remove underperformers. Let data guide your improvements.
Conclusion and Next Steps
A tool page is one of the smartest marketing investments you’ll make. It builds authority. It generates traffic. It can create passive income. Best of all, it provides genuine value to your audience.
You now have everything needed to create your tool page. You have the checklist. You have examples. You understand the strategy. The only thing missing is your action.
Start with the simple list format. Pick your top 10 tools. Write one paragraph per tool. Add affiliate links where available. Publish it this week.
Then improve it over time. Add descriptions. Include screenshots. Create comparison posts. Build on your foundation systematically.
Your tool page works for you 24/7. It attracts prospects while you sleep. It answers questions you’d otherwise answer repeatedly. It positions you as the expert you are.
Next Steps:
- Create your tool inventory today
- Choose your page format this week
- Write tool descriptions using AI assistance
- Sign up for affiliate programs
- Publish your page within 7 days
- Share it across your marketing channels
- Track performance and optimize monthly
Need help creating your tool page faster? The AI Blog Post Writer in Uplify generates ready-to-publish content in minutes. It understands business context. It maintains your brand voice. It handles the heavy lifting so you can focus on strategy.
Stop guessing at content creation. Use proven frameworks and AI acceleration. Your tool page can launch this week instead of staying on your someday list.
Final Thought from Kateryna Quinn:
“Every successful business runs on systems. Your tool page shows you have yours. That alone separates you from 90% of competitors. Build it now.”
Frequently Asked Questions
What is a tool page?
A tool page lists software and platforms you use. It explains why you chose each tool. It helps visitors understand your business systems. It builds credibility through transparency. Many tool pages also generate affiliate income. They typically include 10-20 essential tools organized by category.
How do I create a tool page for my business?
Start by listing all tools you use. Group them by function like marketing or operations. Write 2-3 sentences explaining each tool. Add pricing and affiliate links where possible. Include an update date. Publish on your website. The entire process takes 2-4 hours initially. You can refine it over time.
Why does my business need a tool page?
Tool pages build trust through transparency. They attract organic search traffic. They position you as an industry expert. They can generate passive affiliate income. They also reduce repetitive questions about your processes. A tool page works as marketing 24/7. Most competitors don’t have one yet.
When should I update my tool page?
Review your tool page quarterly at minimum. Update it whenever you switch tools. Check all links monthly for broken URLs. Refresh pricing information every 3 months. Add new tools as you discover them. Current content ranks better in search. Fresh updates show you’re active and relevant.
Can a tool page generate revenue for my business?
Yes, tool pages create multiple revenue streams. Affiliate commissions are most common. Some earn $500-$5,000 monthly from one page. Tool pages also attract qualified leads. They position you for consulting opportunities. They demonstrate expertise that converts to clients. Revenue grows as traffic increases. Even small audiences generate income.
Quick Reference: Tool Page Definition
A tool page is a dedicated webpage listing software, platforms, and resources a business uses to operate. It typically includes tool names, descriptions, pricing information, and reasons for selection. Tool pages serve multiple purposes: establishing expertise, building trust through transparency, attracting organic search traffic, and potentially generating affiliate income. Effective tool pages organize tools by category (marketing, operations, finance, etc.), provide honest pros and cons, include implementation tips, and maintain current information. They function as evergreen marketing assets that work continuously to attract prospects, answer common questions, and position the business owner as a knowledgeable industry authority.
Step-by-Step Process: Creating Your Tool Page
- Audit Your Current Tools: List every software and platform you use regularly. Check subscriptions, bookmarks, and expenses. Don’t filter yet—just capture everything in a spreadsheet.
- Organize by Category: Group tools into logical sections like Marketing, Sales, Operations, Finance, and Communication. Most businesses need 5-8 main categories. This organization improves user experience significantly.
- Prioritize Essential Tools: Select your top 3-5 tools per category. Focus on platforms you genuinely recommend. These should be non-negotiable for your business operations. Quality recommendations matter more than quantity.
- Research Affiliate Programs: Check if your favorite tools offer partnership opportunities. Sign up for affiliate programs even with low traffic initially. Use a link management system to track clicks and update links easily.
- Write Tool Descriptions: Draft 2-3 sentences per tool explaining what it does, why you use it, and who should consider it. Keep initial descriptions concise. You can expand them later based on reader interest.
- Add Pricing and Details: Include current pricing tiers, free trial information, and key features. Note any limitations or drawbacks honestly. This transparency builds trust and helps readers make informed decisions.
- Create Page Structure: Choose a format (simple list, detailed review, or category-based). Build your page with clear headers, table of contents, and jump links. Make navigation intuitive for visitors.
- Design for Readability: Use short paragraphs, bullet points, and whitespace liberally. Add tool logos or screenshots where helpful. Bold key phrases. Design so visitors can scan quickly.
- Optimize for SEO: Write compelling meta description with your primary keyword. Create descriptive alt text for images. Add internal links to related content. Use headers properly throughout.
- Publish and Promote: Launch your tool page. Share on social media immediately. Email your list. Mention it in blog posts. Get traffic flowing. Then improve based on performance data and visitor feedback.

Kateryna Quinn is an award-winning entrepreneur and founder of Uplify, an AI-powered platform helping small business owners scale profitably without burnout. Featured in Forbes (NEXT 1000) and NOCO Style Magazine (30 Under 30), she has transformed hundreds of service-based businesses through her data-driven approach combining business systems with behavior change science. Her immigrant background fuels her mission to democratize business success.